Let’s be honest — getting kids to sit still for a photo is already a wild ride. Now add the strict U.S. visa photo rules into the mix, and it might feel like you’re preparing for a mission to Mars. But don’t worry — we’re going to break down everything you need to know about children’s visa photo requirements for the U.S., without the headache. Whether you’re applying for a U.S. tourist visa for your toddler or renewing a student visa for your teenager, the guidelines are surprisingly specific — and the wrong photo can get your entire application delayed or rejected.
Who Needs a Visa Photo?
Every person applying for a U.S. visa is required to submit a photo that meets specific government standards, and this rule applies universally—no exceptions. That means whether the applicant is a newborn baby, a toddler, a child, or a teenager under the age of 18, a compliant visa photo is mandatory. The U.S. Department of State uses these photos to identify applicants and to match them with their visa records, so accuracy and adherence to guidelines are crucial regardless of the applicant’s age.
Even infants, who obviously can’t follow instructions or pose on command, must have a properly taken visa photo. The photo must clearly show their face with open eyes and a neutral expression, making sure that their head is centered and the background is plain and white. This helps avoid any delays or complications during the visa application process. It might seem tough to get a baby’s photo right, but these requirements ensure consistency and fairness in identification procedures.
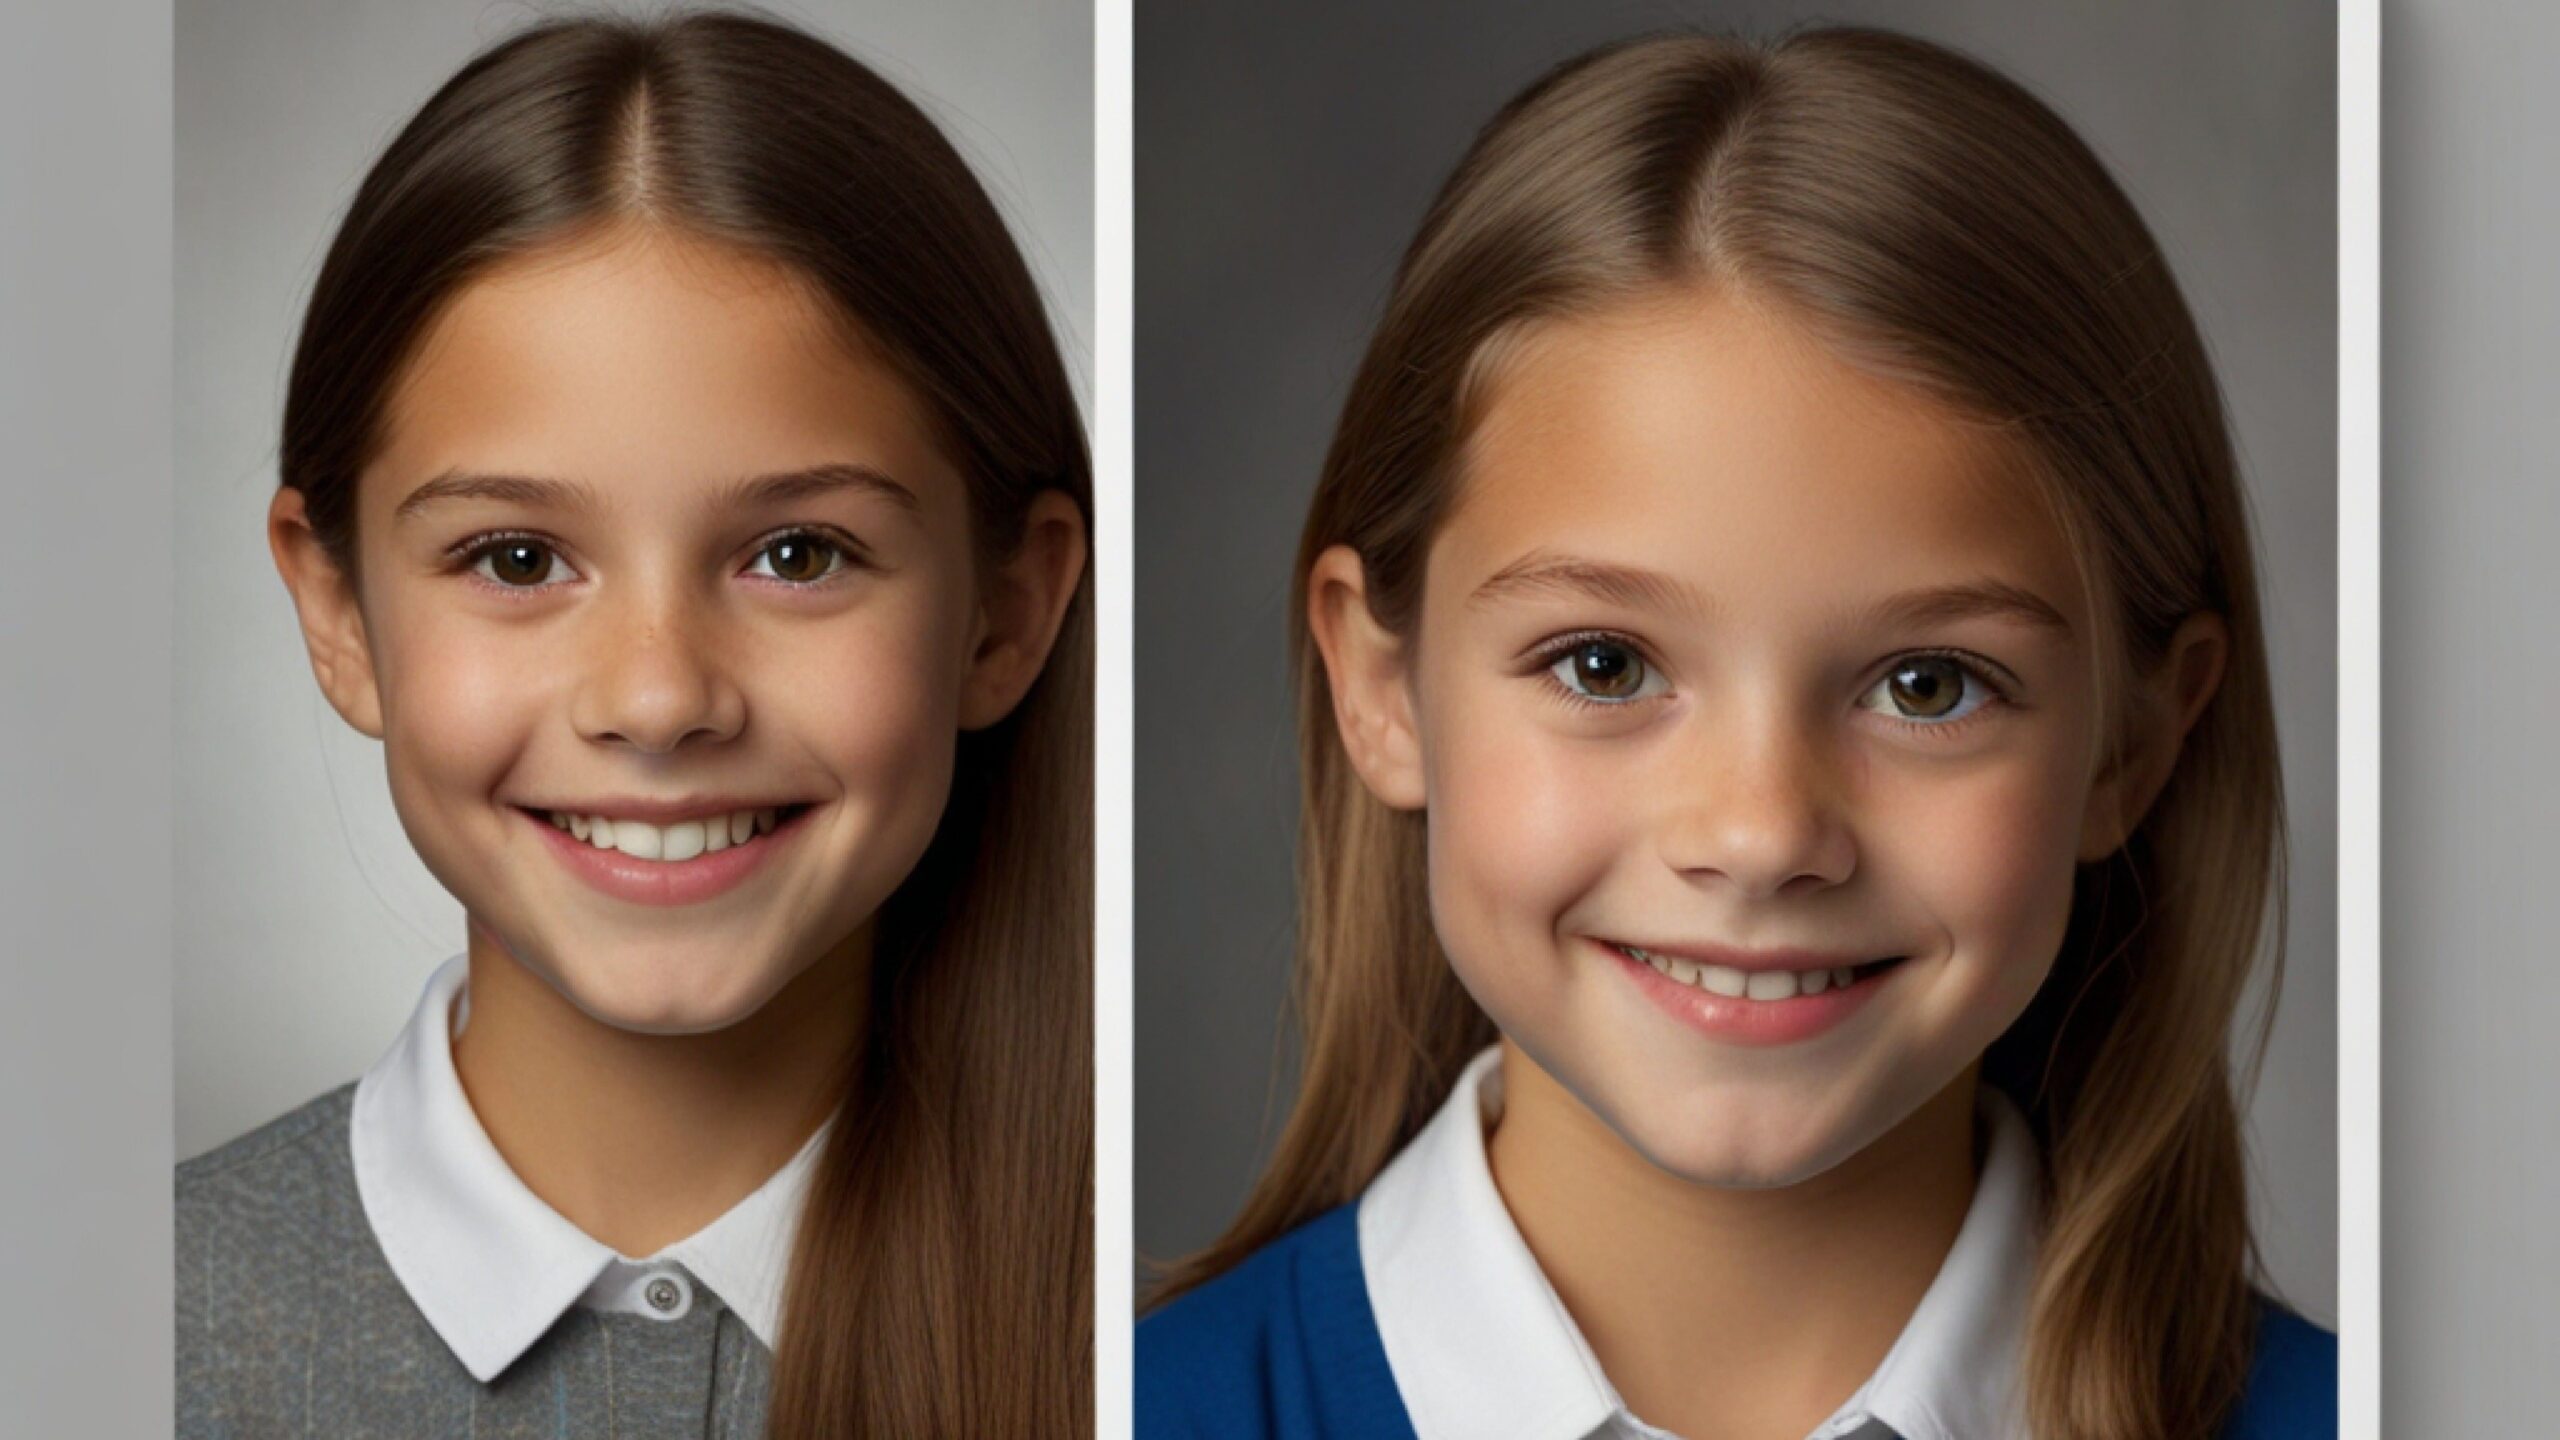
For toddlers and young children, the same stringent rules apply. They must face the camera directly, with eyes open and mouth closed, and the photo must be free of shadows, toys, or other distractions. Even if it’s challenging to get them to sit still, the official requirements don’t change based on behavior or age. The photo serves as a biometric tool, so the child’s face must be clearly visible for the visa officers to verify identity accurately.
Teenagers under 18 also fall under these rules without any leniency. Their photos must comply fully with the established standards, just like adults. In fact, the government treats all visa applicants the same when it comes to photo requirements to maintain uniformity and security. So whether the applicant is just a few months old or on the cusp of adulthood, everyone must submit a compliant photo that accurately represents them at the time of the application.
How Strict Are the Rules for Kids’ Photos?
- The U.S. State Department enforces very strict rules for children’s visa photos, applying the exact same biometric standards as they do for adults.
- Every photo must clearly show the child’s full face, with no shadows, glare, or obstructions that could hide facial features.
- Lighting must be even and bright enough to avoid any dark spots or harsh shadows on the face or background.
- The background has to be plain white or off-white, completely free of patterns, textures, or objects that could distract from the child’s face.
- The child’s head must be centered and facing directly toward the camera, showing the full frontal view with both eyes open and visible.
- Photos must be in sharp focus and high resolution, with no blurriness or pixelation that could reduce facial recognition accuracy.
- The eyes need to be open and clearly visible; closed eyes or partially open eyes can lead to rejection, except for infants under 6 months where some leniency is shown.
- Facial expressions are generally expected to be neutral — no smiling, frowning, or exaggerated expressions — but for babies, some natural variation is tolerated.
- No shadows or reflections caused by glasses are allowed, and glasses themselves are prohibited in visa photos regardless of age.
- Head coverings are not allowed unless worn for religious purposes, but even then, the face must be fully visible from the bottom of the chin to the top of the forehead and from ear to ear.
- Photos must be recent (taken within the last six months) to ensure an accurate representation of the child’s current appearance.
- The photo must be exactly the required size (2 x 2 inches) with proper head size and positioning within the frame; cropping or resizing incorrectly can cause rejection.
- No objects, toys, hands, or other people can be visible in the photo frame, even if used to help keep the child calm or steady.
- The State Department expects strict compliance because the photo is used for biometric comparison during the visa application and entry process, so accuracy is critical.
- Although there is a bit of flexibility in expression and posture for babies and very young children, all other standards remain firmly enforced to maintain uniformity and security.
Photo Size Requirements (USA Standard)
| Application Type | Size in Inches | Size in Millimeters | Resolution | File Format |
| Printed Photo | 2 x 2 | 51 x 51 | 300 dpi or higher | Printed on photo-quality paper, preferably matte or glossy |
| Digital Upload (DS-160) | Between 600 x 600 and 1200 x 1200 pixels | N/A | Minimum 300 dpi | JPEG format, file size between 240 KB and 1 MB recommended for fast upload |
Essential Features of a Valid Visa Photo
When it comes to U.S. visa photos, certain features are absolutely essential and cannot be overlooked. First and foremost, the position of the head plays a critical role in ensuring the photo is acceptable. The applicant must face the camera directly with their head perfectly centered within the frame. This straightforward positioning helps visa officers easily identify key facial features without distortion or angle shifts. Any tilt, turn, or partial profile can lead to rejection because it disrupts the consistency needed for biometric matching.
Another crucial detail involves the placement of the eyes in the photo. The eyes must be clearly visible and positioned between 1 inch and 1 3/8 inches from the bottom of the photo. This precise measurement ensures that the face occupies the right amount of space in the frame, making it easier for automated systems and human reviewers alike to verify identity. If the eyes are too low or too high, the photo will not meet the standard biometric requirements and can be rejected, causing delays in processing.
The background is equally important and must be plain, solid white or off-white without any shadows, textures, or patterns. A clean background creates a sharp contrast with the face, helping it stand out clearly. Shadows behind or on the applicant’s face can confuse facial recognition software or draw unwanted attention away from key features. This is why photographers often use plain backdrops and diffused lighting when taking visa photos, especially for children who might move unpredictably during the session.
Lastly, the facial expression and other details must follow strict guidelines. The applicant should have a neutral expression, meaning no smiling, crying, or any other emotional display. This neutrality is necessary for consistency and reliability in identification. Headgear is generally not allowed unless it is worn for religious reasons, and even then, it must not cover or obscure any part of the face. Since 2016, glasses have been completely banned in visa photos due to reflections and glare issues, so they must be removed. The overall image quality must be flawless — no blurriness, pixelation, or overexposure — ensuring every feature is clear and sharp for biometric purposes. All these elements combined create a photo that meets U.S. visa standards and smooths the path for a successful application.
Special Considerations for Infants and Toddlers
- Taking a visa photo of an infant or toddler requires different techniques compared to adults or older children to meet the strict U.S. visa requirements.
- One common method is to lay the baby flat on a white sheet or plain white background placed on the floor, then stand directly above to take the photo, ensuring the baby’s face is clearly visible and well-lit.
- Another approach is to seat the baby in a car seat covered with a white cloth to create a clean background, positioning the baby upright so the face is centered and facing the camera.
- It is essential that the infant’s eyes are open in the photo, especially for babies older than six months, since closed eyes can lead to photo rejection.
- The baby’s mouth should be closed, which can require careful timing and patience, but is necessary to comply with visa photo standards.
- No objects such as toys, pacifiers, or blankets should appear in the frame, including hands that may be holding or supporting the baby, as these can cause the photo to be rejected.
- The lighting must be even and bright, avoiding any shadows on the baby’s face or background, which can obscure facial details.
- The baby’s head must be centered and facing directly toward the camera, with no tilt or angle, to ensure full facial visibility for biometric analysis.
- It is important to avoid any distractions in the photo that might detract from the baby’s face or cause confusion during identity verification.
- Using natural light and taking multiple shots can improve the chances of capturing a clear, compliant photo on the first try.
- Parents should be prepared for the extra effort and patience needed to get a perfect photo that meets all the visa requirements for infants and toddlers.
Checklist for a Baby-Friendly Photo Session
| Requirement | Description | Importance | Tips for Success | Common Mistakes to Avoid |
| White Background | Use a plain white or off-white background with no patterns | Ensures facial features stand out clearly | Lay baby on white sheet or cover car seat with white cloth | Using colored or patterned backgrounds |
| No Pacifiers, Toys, or Hands | Ensure nothing other than the baby’s face is visible in the frame | Avoids distractions and complies with photo rules | Remove all objects and keep hands out of frame | Holding toys or hands near face during photo |
| Open Eyes | Baby’s eyes must be open and clearly visible | Critical for biometric identification | Take photo when baby is alert or just waking up | Closed or partially closed eyes |
| Head Centered and Upright | Baby’s head must be centered and facing straight at the camera | Maintains uniformity and facial recognition accuracy | Use gentle support to keep head steady without covering face | Head tilted, turned, or partially obscured |
| No Shadows | Avoid shadows on baby’s face or background, especially under the chin | Prevents loss of facial detail and ensures clear photo | Use natural light or soft, diffused lighting | Harsh lighting causing shadows on face or background |
Tips to Keep Your Sanity While Taking a Kid’s Photo
Taking a good photo of a child can feel like trying to catch lightning in a bottle, especially if you’re not a professional photographer. The first thing to keep in mind is lighting — natural light is your best friend here. Soft daylight streaming in through a window creates gentle, even illumination that helps avoid harsh shadows or glaring spots on your child’s face. Avoid using direct flash because it can startle kids and create unflattering reflections, making the photo look unnatural or forcing squints.
Timing is another key factor. Try to schedule the photo session during or just after your child’s nap time when they’re more likely to be calm and cooperative. A well-rested child is less likely to fuss or move around too much, which makes your job much easier. When kids are tired or cranky, getting a good picture feels almost impossible, so working around their schedule is a simple yet effective hack.
Taking multiple shots is a lifesaver — don’t rely on just one or two photos. Kids can blink, move, or make unexpected faces at any moment, so the more pictures you take, the better your chances of capturing that perfect still. Using the burst mode on your phone or camera lets you snap several photos in quick succession, increasing the likelihood of getting one where the eyes are open, the face is clear, and the expression is just right.
Finally, keeping your child’s attention without distracting objects in the frame is crucial. Instead of using toys or pacifiers, which can show up in the photo and cause rejection, use sounds like rattles, funny noises, or a silly voice to grab their attention. This way, you can direct their gaze toward the camera without cluttering the picture. These little tricks help keep the process smooth and less stressful, turning what could be a frustrating ordeal into a manageable and even fun experience.