Biometric-ready ID photos might look like ordinary headshots at first glance, but trust me—there’s a whole science behind them. Whether you’re applying for a passport, visa, or national ID, these photos must follow strict guidelines. Miss even one detail, and bam—your application could be rejected. So, let’s dive deep (without making your head spin) into what actually makes a photo “biometric-ready.”
Why Biometric-Ready Photos Even Matter
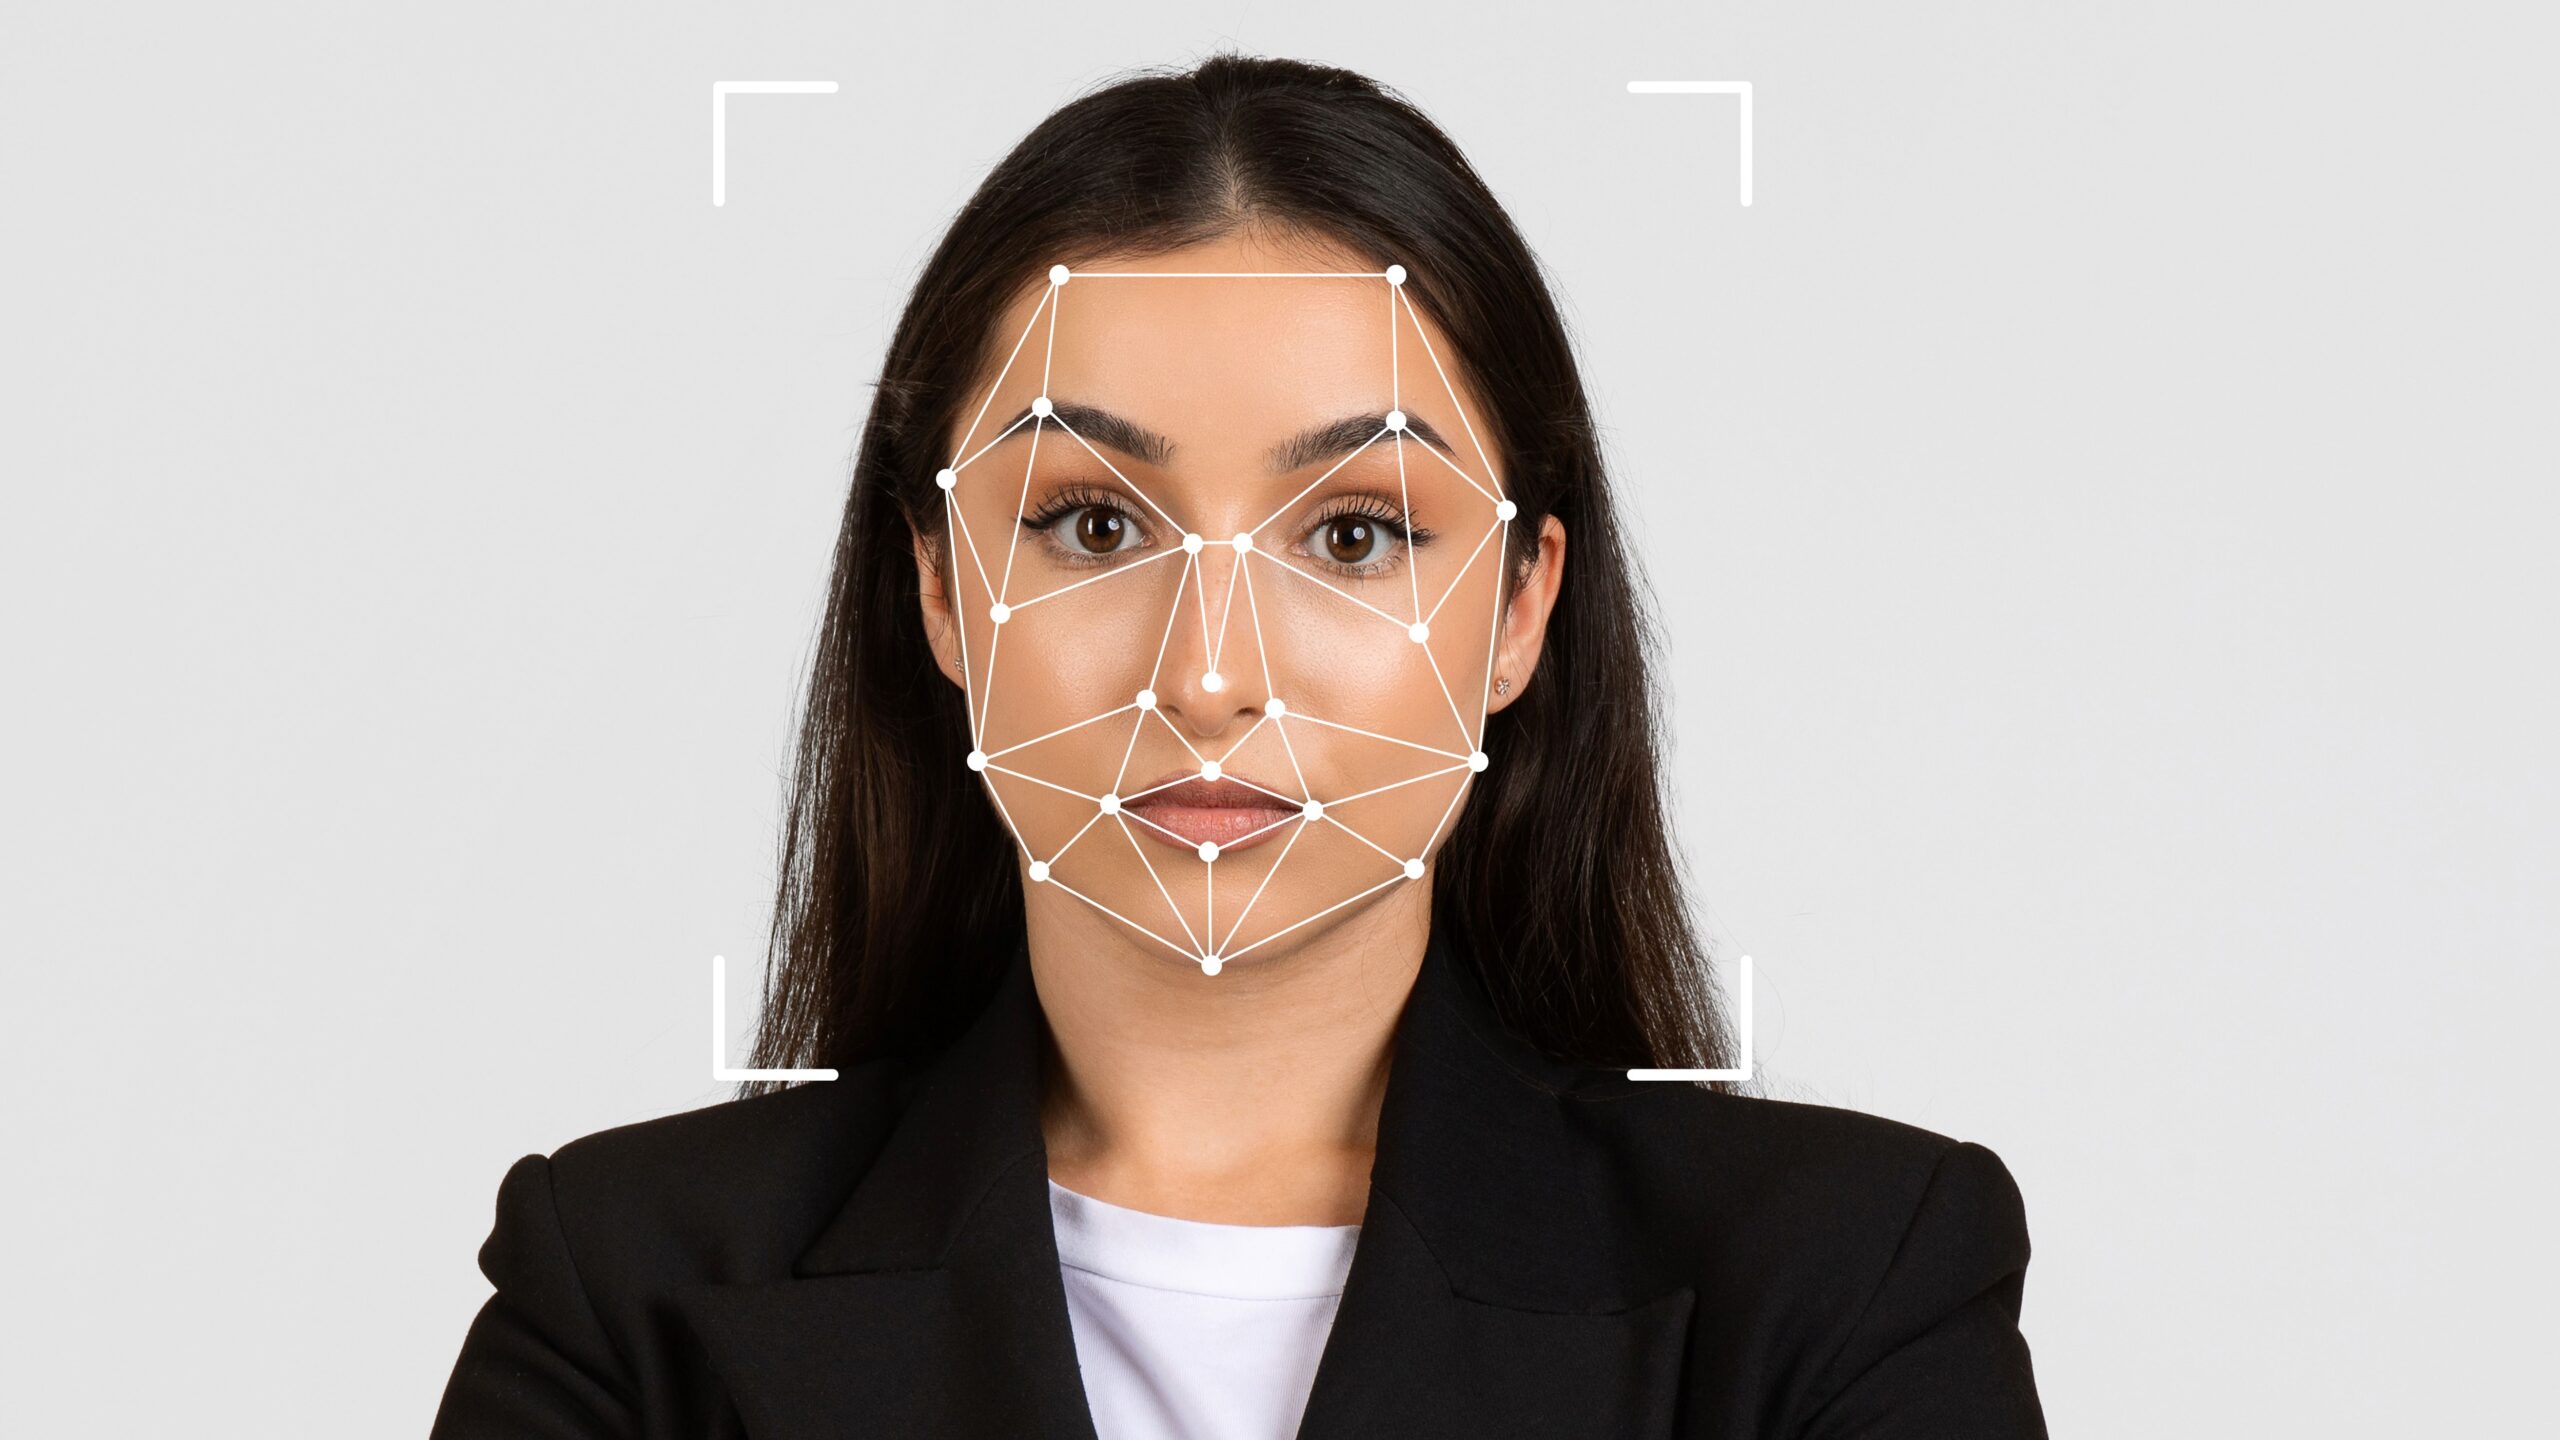
Let’s start with the basics. Biometric systems have become an integral part of modern identity verification across the globe. Governments and agencies rely on these systems to analyze unique physical traits—especially facial features—to accurately identify individuals. Unlike traditional ID photos that serve merely as a visual reference, biometric-ready photos are designed to feed complex algorithms that ensure high accuracy and security in identification processes. This means the way your photo is taken and presented directly impacts how well these systems can recognize and verify you.
Biometric data goes beyond just capturing a pretty picture. The photos are used to train facial recognition software that matches live scans with stored images in databases. When you pass through airport immigration, for example, the camera captures your face in real time and compares it to your passport photo, all within seconds. If the photo isn’t compliant with biometric standards—say, it has shadows, a tilted head, or a smile—the software might fail to make a match, which can cause delays or even denial of entry. So, the quality and standards of these photos are crucial for smooth travel and identity confirmation.
The real-world applications of biometric photos are widespread and growing. They are not limited to passports and visas but extend to driving licenses, national ID cards like India’s Aadhaar, and electronic passports used in many countries. These images form the backbone of secure identity verification for services ranging from border control and law enforcement to banking and government benefits. This ubiquity means the accuracy and consistency of biometric photos affect millions of people’s daily interactions with government and private systems worldwide.
Because these photos play such a critical role in security and convenience, the stakes are indeed high. A small mistake in how a photo is taken—be it improper lighting, wrong background, or facial expression—can disrupt automated recognition and cause headaches for travelers and officials alike. That’s why understanding the importance of biometric-ready photos and adhering to strict guidelines is essential for anyone applying for official identification documents today.
Key Characteristics of a Biometric-Ready ID Photo
To get that crisp, machine-readable image, you’ve got to follow certain global standards. These requirements aren’t just bureaucratic red tape—they’re essential for making sure facial recognition systems can do their job effectively. Here’s a detailed breakdown of the most important characteristics that define a biometric-ready ID photo:
- Correct Size
The standard size for a biometric ID photo is typically 35mm x 45mm, especially for passports. This sizing ensures your face is displayed in proper scale, allowing biometric systems to extract key facial features with precision. Even a small deviation can cause scaling issues, making it harder for software to identify or compare your image accurately. - Neutral Facial Expression
You must maintain a completely neutral expression. That means no smiling, no open mouth, no raised eyebrows—just a straight, relaxed face with your mouth closed and eyes open. This standard ensures that facial landmarks like the eyes, nose, and mouth are in their natural positions, which is crucial for accurate facial mapping and recognition. - Even Lighting with No Shadows
Lighting must be uniform and balanced across your face. Avoid overhead lighting, backlighting, or side lighting that causes harsh shadows or uneven skin tones. Shadows can obscure key biometric markers, confuse the software, and result in rejected applications. Natural daylight or soft artificial light from both sides is ideal. - Plain, Uniform Background
The background of a biometric photo should be plain white or light grey, with no textures, patterns, or objects in view. Busy or dark backgrounds interfere with automated detection and can blend with hair, ears, or facial contours. A clean background ensures the software isolates the face quickly and accurately. - Centered Head Position and Straight Gaze
Your head should be centered and facing directly forward, with both eyes visible and looking straight into the camera. Tilting, turning, or leaning your head distorts facial symmetry and confuses alignment algorithms. Keeping your face straight and level ensures the photo captures all biometric data in proportion. - Full Face Visibility
Your face should be fully visible from the top of the forehead to the bottom of the chin, and from ear to ear. Avoid hairstyles that cover parts of your face, and make sure your hair doesn’t cast shadows on your features. The more of your face the system can “read,” the higher the chance of successful verification. - No Obstructions (Unless Required)
Glasses, hats, or head coverings are generally not allowed, unless worn for medical or religious reasons. If you do wear them, ensure that they don’t obscure your eyes, eyebrows, or any part of your face. Glasses should be free of glare or reflections; tinted lenses are strictly prohibited, and heavy frames should be avoided. - High Resolution and Sharp Focus
The photo should be in high resolution and have sharp focus. Blurry or pixelated images won’t work, as the biometric software needs to detect fine details like the eye contour, skin texture, and nose structure. Photos must be printed or uploaded in high-quality digital formats like JPEG or PNG, depending on the agency’s requirement.
Lighting and Exposure: The Make-Or-Break Element
| Lighting Factor | What to Do | What to Avoid | Why It Matters | Pro Tip |
| Natural Light | Use soft, diffused daylight | Direct sunlight or harsh midday sun | Natural light reduces shadows and preserves skin tone | Take photos near a window with light filtered through sheer curtains |
| Backlighting | Light should come from in front or side | No light source behind your head | Backlight causes your face to appear dark or silhouetted | Use a white wall or sheet behind you to reflect light forward |
| Shadow Control | Keep your face evenly lit | Shadows around eyes, under nose or chin | Shadows distort facial features and hide biometric points | Place two light sources at equal angles on each side of your face |
| Light Direction | Use lights at eye level | Overhead or low-angle lighting | Angled lighting changes how features appear in the photo | Use desk lamps positioned at the same height as your head |
| Even Exposure | Adjust light balance for both sides | One side brighter/darker than the other | Uneven exposure confuses facial recognition algorithms | Use a ring light or bounce card to even out brightness |
The Background Can’t Steal the Spotlight
When it comes to biometric ID photos, the background isn’t just a backdrop—it’s a critical part of the identification process. Unlike regular portrait photography where creativity is encouraged, biometric standards demand simplicity and uniformity. The background should be a solid, light color—ideally white or light grey—with absolutely no patterns, textures, or objects visible. This may sound overly strict, but it’s essential for ensuring that your face remains the sole focus of the image.
A plain background plays a huge role in helping facial recognition software isolate and analyze your facial features. Busy or colored backgrounds, even something as simple as wallpaper or a curtain, can create visual “noise” that interferes with the system’s ability to detect edges, contours, and contrast points on your face. Patterns or objects in the background can also blend with your hair, ears, or clothing, confusing the software and possibly leading to a mismatch or rejection of the photo entirely.
Shadows are another major concern when it comes to background selection. If the background isn’t uniformly lit, it can cause shadows to form around your head or shoulders, creating unnatural lines and gradients that the software might misinterpret as part of your facial structure. This can throw off the measurements used for biometric comparison. That’s why lighting and background go hand in hand: an evenly lit, plain background ensures there are no distractions or false data points in the image.
In a world increasingly reliant on automated identity checks, even the smallest background detail can have big consequences. What might look perfectly fine to the human eye—like a soft beige wall or a lightly textured sheet—could trip up highly sensitive biometric algorithms. For best results, always aim for a smooth, matte, light-colored surface behind you, and avoid standing too close to it to prevent shadows. It’s not about aesthetics—it’s about data clarity, and your background needs to be invisible to everything but your face.
Neutral Expression: Your Face Is the Data
Smiling for your passport photo might feel natural—maybe even instinctive—but when it comes to biometric-ready ID photos, it’s a firm no. Why? Because your face isn’t just a portrait—it’s a collection of measurable data points that facial recognition systems analyze to identify you. Any change in your expression, no matter how small, can subtly alter the structure and appearance of these biometric points. That’s why maintaining a completely neutral expression is one of the most important rules.
- Keep your mouth fully closed
A closed mouth ensures the shape of your jaw and lips remains natural and unchanged. Even a slight smile can raise your cheeks, stretch your lips, or alter your chin’s appearance—confusing biometric systems that rely on consistency. - Maintain a relaxed, straight face
Avoid showing any emotion—no smiles, frowns, or tense muscles. Emotions create asymmetry in your facial features, and machines don’t process expressions like humans do. They need a neutral, static canvas for reliable mapping. - Eyes must be open and clearly visible
Your eyes are one of the most critical biometric markers. Squinting, blinking, or looking away alters the eye shape, visibility of the iris, and spacing between features. The gaze should be direct and natural, with no glare, red-eye, or eyelid droop. - Don’t raise your eyebrows
Raised eyebrows stretch the forehead and widen the eye sockets. This might look natural in everyday conversation, but it distorts facial ratios and vertical alignment of biometric points, especially around the upper third of your face. - Head must be level, not tilted
Tilting your head—even slightly—changes the perspective of your facial features. Your ears and jawline shift positions, which can lead to poor biometric analysis or even outright rejection of the photo. Keep your head straight and level with the camera. - Avoid lip movement or tension
Pressing your lips together or pulling them back changes their natural resting position. These movements may seem minor but are easily picked up by algorithms that analyze lip thickness, width, and symmetry. - No cheek puffing or sucking in
Puffing out your cheeks or sucking them in, whether intentional or subconscious, alters your facial volume. These changes affect jaw definition and cheekbone placement, which are key biometric measurements. - No smirks or subtle expressions
Even a slight smirk or amused look can cause subtle but significant distortions—like one eyebrow being higher than the other or a slight upturn in one corner of the mouth. Machines are less forgiving than people when it comes to asymmetry.
Head Position and Camera Angle: No Tilting Allowed
| Positioning Aspect | Correct Technique | What to Avoid | Why It Matters | Helpful Tip |
| Eye Contact | Look directly into the lens | Looking up, down, or sideways | Ensures accurate eye-level alignment for facial recognition | Imagine the camera lens is the eyes of an immigration officer |
| Head Level | Keep your head straight, not tilted | Tilting left, right, forward, or backward | Tilt changes facial proportions and distorts symmetry | Use a mirror or grid app to align your face perfectly upright |
| Face Centering | Center your face within the frame | Off-center placement | Prevents facial cropping and ensures consistent spacing | Your eyes should be horizontally aligned in the upper third |
| Camera Angle | Camera should be at eye level | Angled from above or below | Angled shots distort jawline and forehead dimensions | Place camera on a tripod or steady surface at face height |
| Distance from Camera | Maintain moderate distance (approx. 1.5m) | Too close or too far | Affects image clarity, face size, and background balance | Use markers or tape on the floor to find a consistent position |
Face Visibility: No Obstructions, Please
Biometric identification relies on a clear, uninterrupted view of your entire face. This isn’t just about seeing whether you look presentable—it’s about giving machines access to key points like your eyes, nose, mouth, and jawline so they can build a digital map of your identity. Any object, shadow, or accessory that gets in the way of these reference points can result in a rejected photo or, worse, identification errors. That’s why visibility is one of the most strictly enforced rules in passport and ID photos worldwide.
One of the most common mistakes people make is wearing glasses, especially ones with reflective lenses or tint. Even clear prescription glasses can cause glare that hides the eyes, which are essential landmarks in facial recognition. Most authorities now recommend removing glasses altogether for ID photos unless medically necessary. The same applies to hats, caps, and other headgear—unless they are worn for religious purposes, they’re considered obstructions that compromise biometric accuracy.
Hair can also interfere more than people realize. Long bangs falling over the eyebrows, curls casting shadows on the cheeks, or strands partially covering the ears might look stylish in everyday life but can seriously mess with biometric analysis. Facial symmetry, ear visibility (in some countries), and clear eye lines are all vital to the system, and loose hair throws that off. Tying back hair or using hairpins to keep it away from the face is a simple but effective solution.
Even accessories you wouldn’t normally think twice about can be problematic. Large hoop earrings, heavy necklaces, or facial piercings may reflect light, cast shadows, or confuse the software’s edge-detection features. While small studs and natural makeup are typically acceptable, anything that alters the natural appearance of your face or causes inconsistencies in lighting should be avoided. When it comes to ID photos, less is definitely more—your face needs to be the sole focus.